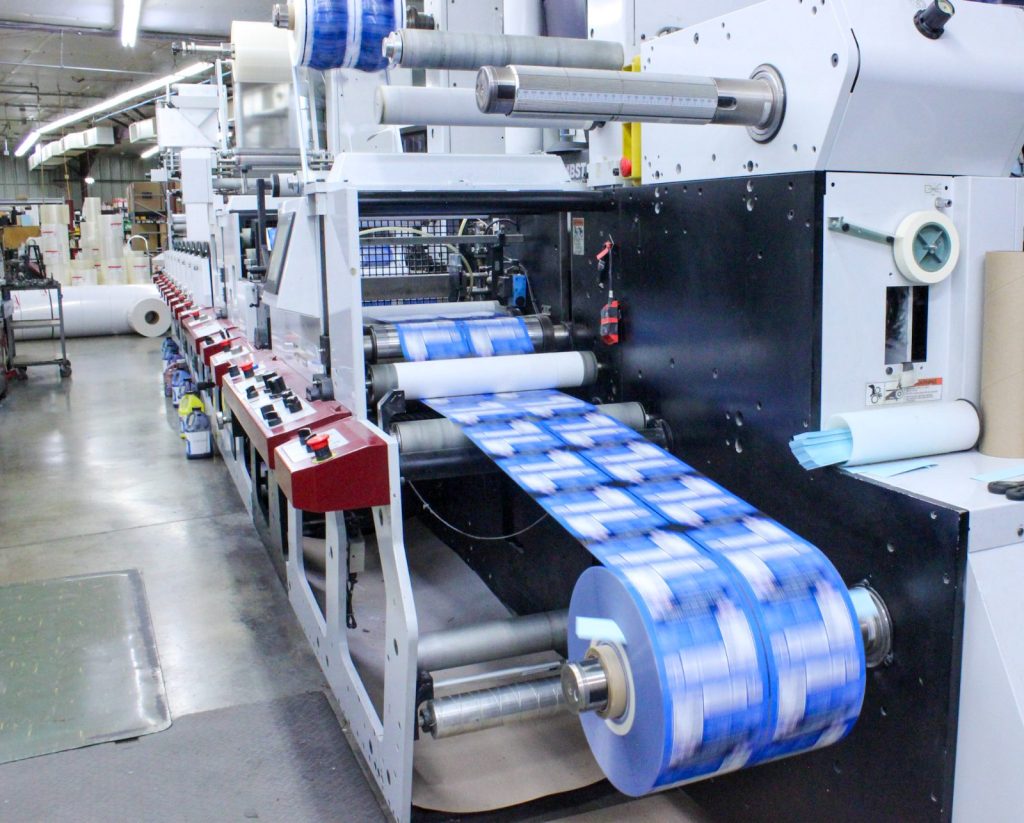
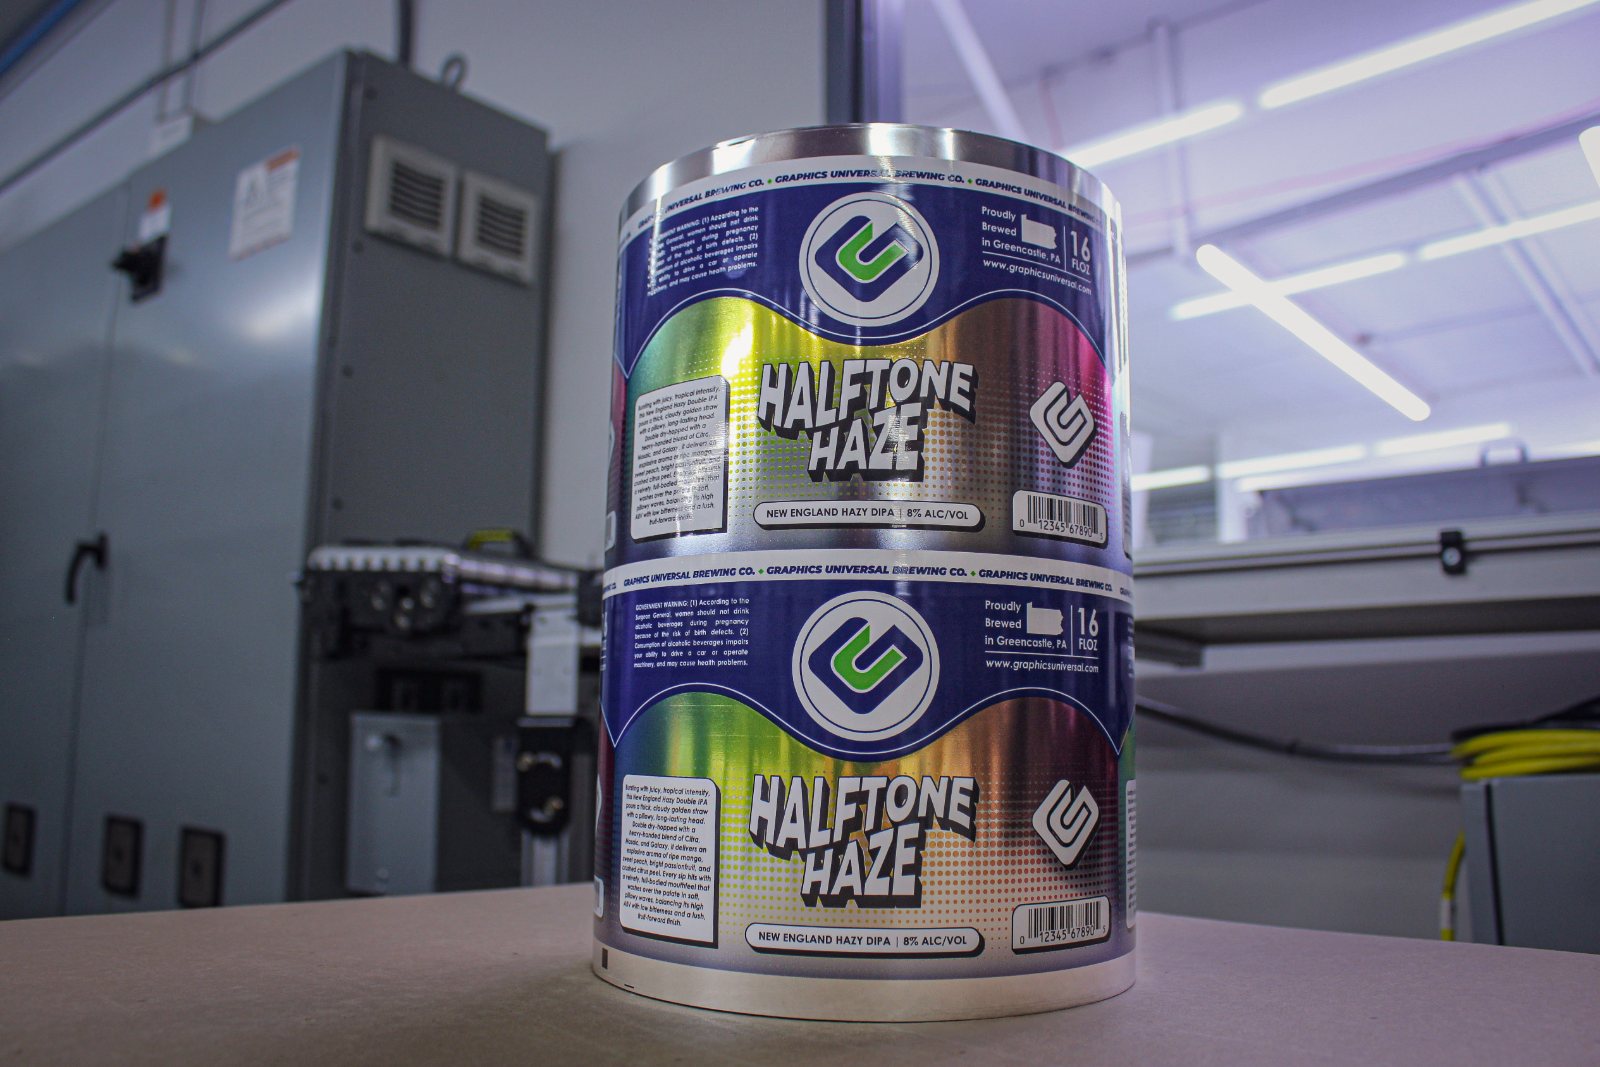
Label artwork follows the same basic rules as any print file, with a few of its own. A label is cut to shape, wraps a container and often carries a barcode that has to scan every time.
Start From the Dieline
The dieline is the outline of the finished label, including its corners and any custom shape. Ask us for the dieline for your label size before you design, and build the artwork on it rather than on a plain rectangle.
Bleed and Safe Area
Extend background color and images past the dieline, typically 1/8 inch, and keep text and logos well inside it. Labels are cut at speed, and a small shift will not show if nothing important sits right at the edge. We confirm the exact bleed for your die.
Barcodes That Scan
Print the barcode in solid black on a light background, never in a tint or rich black. Leave the clear quiet zone on both sides empty, and do not shrink the barcode below its minimum size. On a round container, run the bars around the curve rather than across it so a scanner can read them.
Small Type and Fine Lines
Required information often ends up very small. Keep type large enough to read, avoid very thin fonts and hairlines, and be careful with small type reversed out of a dark color.
Before You Send
- Artwork is built on the correct dieline.
- Bleed extends past the cut; text sits inside the safe area.
- Brand colors are specified as spot colors where they need to match.
- Barcode is solid black, full size and clear of other elements.
Our design and prepress team checks every label file before production, and can build it for you. See custom label printing, and how to prepare print-ready files for the general checklist.