Most delays at prepress come from the same handful of file problems, and nearly all of them are fixed in minutes if they are caught before the file is sent. Work through this list before you export.
The Checklist
Bleed and Safe Zone
If any color or image touches the edge of the finished piece, extend it 1/8 inch (0.125 inch) past the trim on every side. Presses cannot print to the exact edge; the sheet is trimmed after printing, and bleed prevents a white sliver. Keep text and logos at least 1/8 inch inside the trim.
Resolution
Photos should be 300 pixels per inch at the size they will print. An image that looks sharp on screen at 72 ppi will print soft or pixelated.
Color
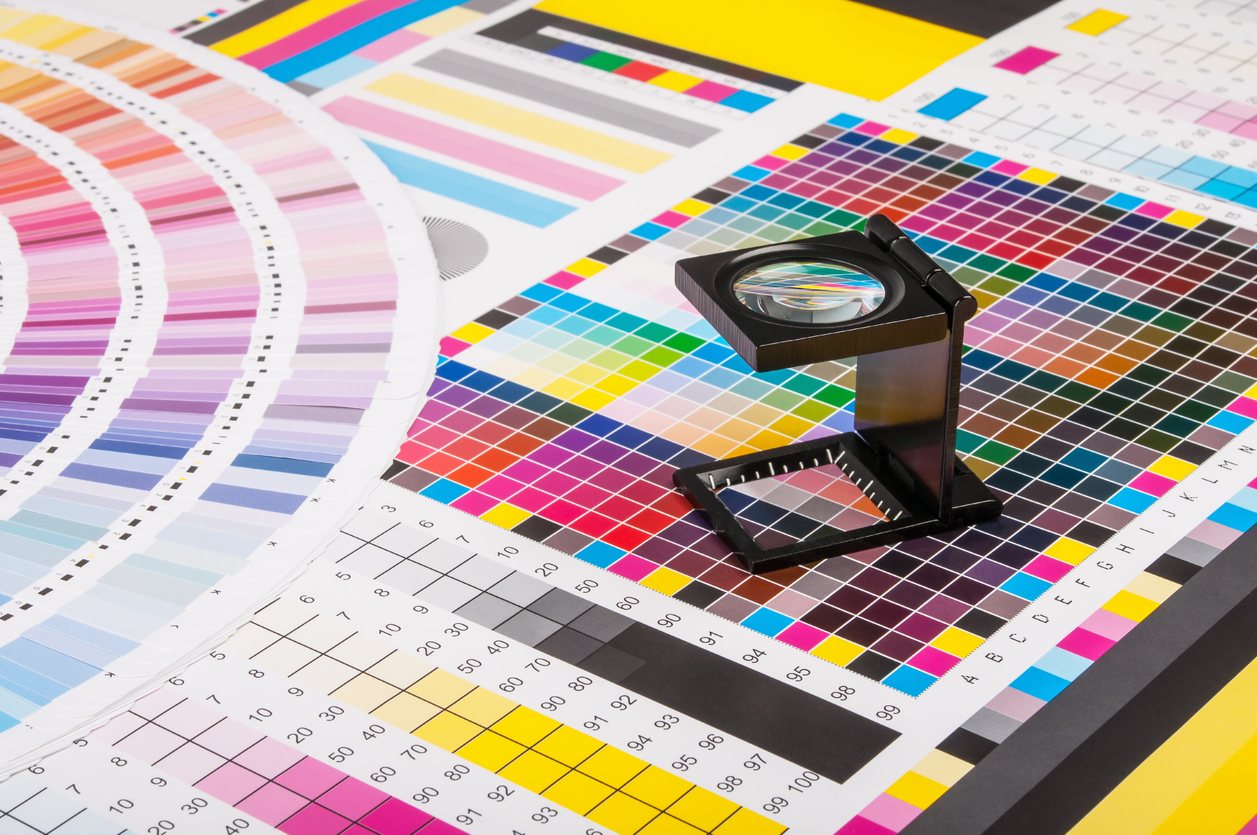
Screens display RGB color; presses print CMYK, plus spot inks where specified. Convert to CMYK, or tell us which elements are Pantone spot colors, so there are no surprises when the colors shift.
Fonts and Export
Embed fonts in the PDF or convert them to outlines. Export a high quality or PDF/X file with crop marks and bleed, one file per version.
What We Check When Your File Arrives
Every file goes through preflight before it prints. We check bleed, resolution, color, fonts, page count and size against the order, and if something is off we tell you before it goes to press, not after.
Designing in Canva or Word? We accept both; the export settings matter, so ask us before you send. Our design and prepress team can also build or fix the file for you. For labels, see how to set up label artwork.